

There’s a spot on my kitchen cabinet, right by the stove handle, that I swear collects grease the second I turn my back. Maybe you’ve got one too. One day it’s just a little smudge, and three weeks later it’s this dark, sticky patch that makes the whole kitchen look neglected. If you’ve been putting off cleaning your wood cabinets because you’re scared of ruining that nice finish, you’re not alone — and you’re smart to be careful. Knowing how to clean wood kitchen cabinets without damaging the finish is honestly one of those skills nobody teaches you, but once you learn it, it changes everything.
Why Wood Cabinets Get So Dirty (and Why the Finish Actually Matters)
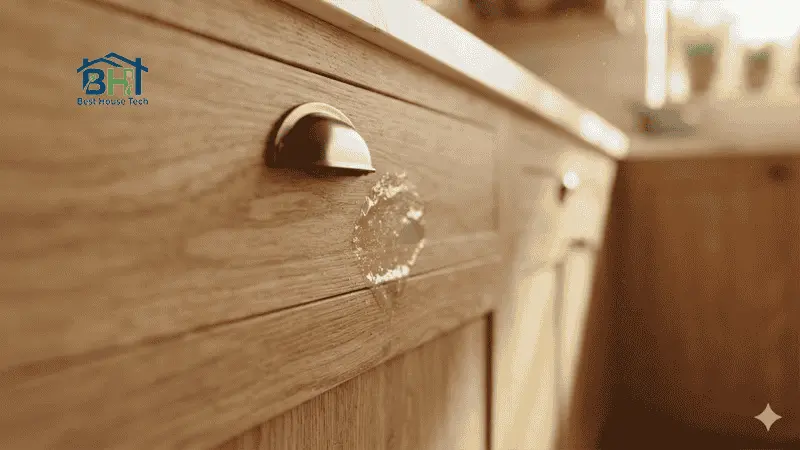
Kitchens take a beating. Between the steam from boiling pasta, the oil that jumps out when frying (which is why knowing how to clean burnt stainless steel cookware comes in handy, and little hands touching every surface at kid-height, wood cabinets end up as one of the hardest-working parts of your home. Grease particles float through the air when you cook and settle on anything nearby – cabinets included, especially the ones closest to the stove.
Here’s the part people skip over, though: not all wood cabinets are finished the same way, and that matters a lot once you start cleaning. You’re usually dealing with one of these:
Painted cabinets – a solid color coat, common in farmhouse or cottage-style kitchens
Stained cabinets – wood grain still visible, just tinted with color
Varnished cabinets – a clear protective topcoat over natural or stained wood
Lacquered cabinets – a glossier, harder finish, often on newer or more modern kitchens
The wrong cleaner on the wrong finish can leave streaks, dull spots, or even peel the coating right off. I found this out the hard way years ago when I grabbed whatever spray was under the sink and ended up with a cloudy patch on my painted cabinets that never fully went away. So before you grab anything, it helps to know what you’re working with.
What You’ll Need Before You Start
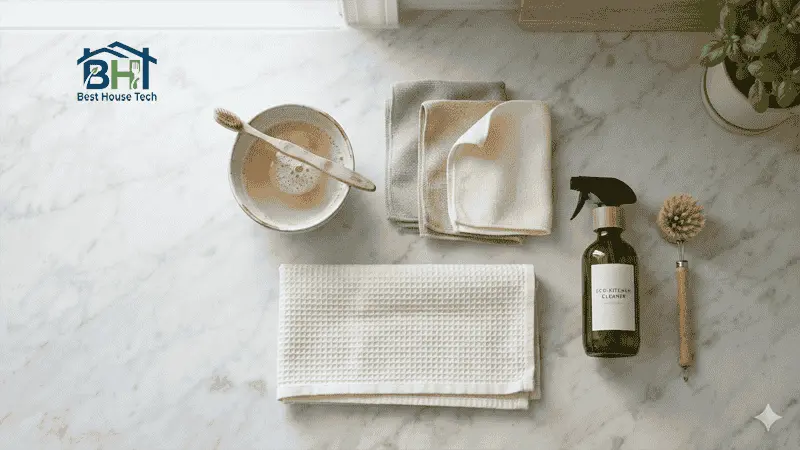
Nothing on this list is fancy, and you probably already have most of it sitting in a cabinet right now:
- Microfiber cloths (a few, so you’re not reusing a dirty one)
- Mild dish soap
- Warm water
- A soft-bristle brush (an old toothbrush works fine for tight corners)
- Optional: baking soda, white vinegar, food-grade mineral oil
That’s really it. You don’t need a specialty wood cleaner unless your cabinets have some very specific finish the manufacturer recommends a particular product for.
How to Clean Wood Kitchen Cabinets Without Damaging the Finish: The Everyday Method
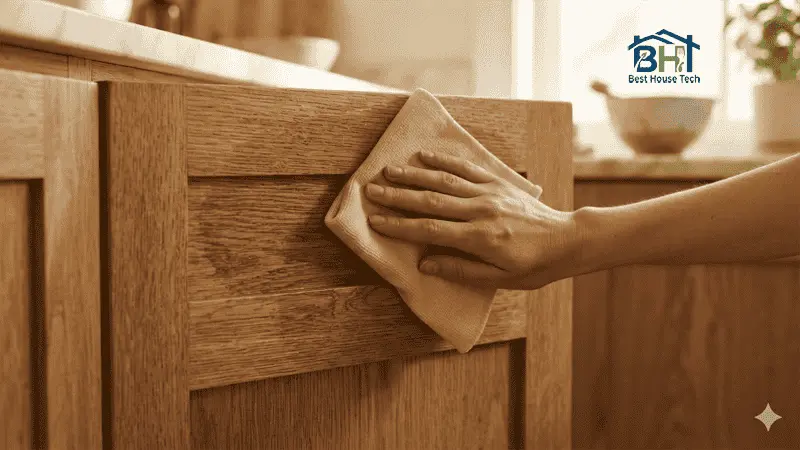
This is the routine I reach for probably twice a month, just to keep things from building up in the first place.
Dust first. Wipe the cabinet surfaces with a dry microfiber cloth before you introduce any liquid. This gets rid of loose dust and crumbs so you’re not just grinding them into the finish.
Mix your solution. A few drops of mild dish soap in a bowl of warm water is plenty. You don’t need it foamy – just enough to cut through light grease.
Wring your cloth out well. Dip it in, then squeeze until it’s damp, not wet. Wood and standing water do not get along.
Wipe in the direction of the grain, using gentle circles or straight strokes depending on the finish. Work one door or drawer at a time so you don’t lose track of what you’ve done.
Go over stubborn spots with the soft-bristle brush, dipped lightly in the soapy water. Light pressure – let the soap do the work, not your arm.
Rinse with a second cloth, this one dampened with plain water only, to lift off any soap residue.
Dry immediately with a clean towel. This step matters more than people think – leftover moisture is what causes warping and dull spots over time.
How to Remove Grease Buildup Near the Stove
This is the trouble zone in basically every kitchen I’ve ever cooked in. Grease near the stove is thicker and stickier than regular grime, so it needs a little more muscle.
Mix baking soda with a small splash of water until it forms a thick paste – think toothpaste consistency.
Spread it over the greasy spots and just leave it alone for 5 to 10 minutes.
Come back with your soft-bristle brush and scrub gently. You’ll feel the grease start to lift.
Wipe the paste away completely with a damp cloth – any leftover baking soda can dry into a white residue.
Dry the area right away.
Cleaning Sticky Fingerprints and Handle Areas
If you have kids, or honestly even if you don’t, cabinet handles get touched a hundred times a day, and it shows.
Dampen a cloth with your soap-and-water mix and wipe down handles and the areas right around them.
For residue that won’t budge, put a drop of mineral oil on a separate cloth and gently buff the spot. It breaks down sticky buildup without scratching anything or leaving a greasy residue that sours over time.
Follow with a clean, barely damp cloth to remove any excess oil, then dry.
Cleaning Painted Cabinets Without Ruining the Finish
Painted cabinets are more delicate than people expect, and they’re the easiest finish to accidentally damage.
Stick to your basic soap-and-water solution – nothing stronger.
Skip anything abrasive, even a “gentle” scrub sponge. Painted surfaces scratch more easily than stained wood.
Wipe gently, don’t press hard, and never let the cloth sit wet against the paint for more than a few seconds.
Dry immediately, every time. Paint holds onto moisture longer than sealed wood does, and that’s where peeling starts.
Cleaning Stained or Varnished Wood Cabinets
Stained and varnished cabinets can handle a bit more than painted ones, but they’re not indestructible either.
Dust first, same as always.
For light grime, mild dish soap and warm water remains the safest, most effective choice. If you’re dealing with stubborn grease, a diluted mix of equal parts white vinegar and warm water can help, but always test it on a small, hidden spot first to make sure it doesn’t dull the protective clear coat.
Wipe down gently, paying extra attention to spots with visible buildup.
Finish with a few drops of food-grade mineral oil on a dry microfiber cloth to bring back some shine, especially if the wood looks a little flat or tired.
What NOT to Do When Cleaning Wood Cabinets
A few habits that feel harmless but actually cause real damage over time:
Skip the harsh all-purpose sprays. A lot of them contain ammonia or bleach, which, as cleaning experts at Bob Vila point out, can permanently strip the finish and leave cloudy patches on wood surfaces.
Don’t oversaturate your cloth. Water sitting in the wood grain causes swelling, warping, and eventually cracking.
Leave the steel wool and scouring pads in the cabinet under the sink where they belong. They scratch every single finish type, no exceptions.
Avoid magic erasers on stained or varnished wood. They’re mildly abrasive, and on a clear finish that’s enough to leave dull streaks.
Don’t use glass cleaner. Most contain ammonia, which reacts badly with wood finishes over repeated use.
How Often Should You Actually Clean Your Cabinets?
There’s no need to deep-clean your whole kitchen every week. Realistically:
Weekly: A quick wipe of handles and any spot near the stove, since those areas get dirty fastest.
Monthly: A full wipe-down of every cabinet face using the everyday method above.
Every few months: A deeper clean plus a light mineral oil treatment if your cabinets are stained or varnished and starting to look dry.
Keeping the Shine and Protecting the Finish Long-Term
Keep cabinets out of direct, harsh sunlight where you can – it fades and dries out finishes over years, especially stained wood.
Use trivets or heat pads near the stove instead of resting hot pans directly against cabinet surfaces (or if you are dealing with burnt pans, check our guide on how to remove sticky residue from stainless steel pan.
If you’re in a climate with big humidity swings (hello, anyone dealing with a humid summer and a dry winter), know that wood expands and contracts – it’s normal, and it’s exactly why keeping moisture off during cleaning matters so much.
Every few months, a light coat of mineral oil on stained or varnished wood keeps it from drying out and looking chalky.
FAQ: Cleaning Wood Kitchen Cabinets
Can I use vinegar on all wood cabinets?
It is best used with caution. Vinegar is acidic, so while a diluted mixture can work on sturdy stained or varnished wood, you should always spot-test it first in an inconspicuous area. Avoid using vinegar on painted cabinets, as the acidity can dull or soften the paint over time — stick to mild soap and water instead.
What’s the best homemade cleaner for wood cabinets?
A simple mix of warm water and a few drops of mild dish soap handles most everyday grime just fine. For tougher grease, baking soda paste is the next step up.
How do I get rid of a strong grease smell on my cabinets?
Wipe down with your soap-and-water solution, then let the cabinets air out with a window cracked if possible. A small dish of baking soda placed nearby overnight can also help absorb lingering odors.
Will cleaning remove the shine from my cabinets?
Not if you’re using the right method for your finish. Shine usually fades from buildup or dryness, not from proper cleaning — and a little mineral oil can actually restore it.
Can I use Murphy’s Oil Soap on painted cabinets?
It’s generally considered safe for painted wood, but test it on a small hidden spot first, since some painted finishes react differently than others.
How do I fix water damage on wood cabinets?
Light water spots can sometimes be buffed out with a dry cloth and a little mineral oil. Deeper warping or swelling usually needs a wood repair specialist – prevention really is the better route here.
Clean cabinets aren’t about having a spotless showroom kitchen. They’re about keeping the space you actually use every day looking cared for, without wrecking the finish in the process. Give these methods a try next time you notice that stove-side grease spot creeping back – your cabinets will thank you, and honestly, so will future-you.