
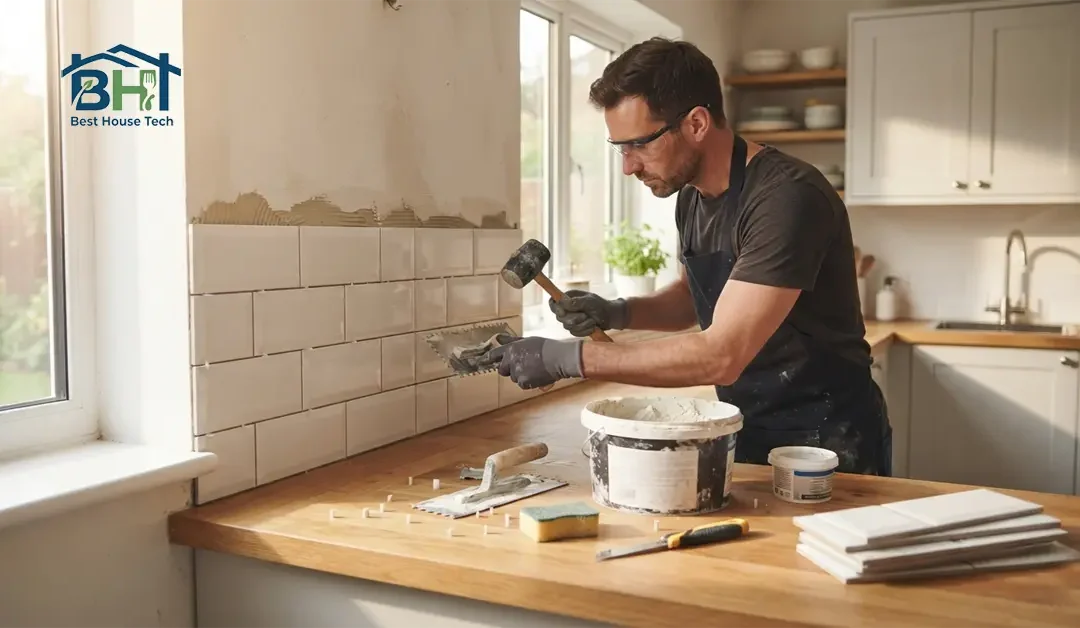
A bare wall behind your stove doesn’t just look unfinished- it’s also taking a beating every time you cook. Grease splatters, sauce spills, and steam all land somewhere, and without a backsplash, that somewhere is your drywall and paint.
The good news is that installing a backsplash is one of the more forgiving kitchen upgrades a homeowner can tackle. You don’t need a plumbing license or an electrician on speed dial. Just like learning how to change a kitchen faucet, you only need a free weekend, the right tools, and a plan you can follow without second-guessing yourself halfway through.
Here’s exactly how it’s done, from clearing the counter to standing back and admiring the grout lines.
What You’ll Need Before You Start
Running out mid-project to buy a trowel you forgot is its own special kind of frustrating, so gather everything up front.
Essential Tools for Installation:
- Tape measure and a level
- Notched trowel (size depends on your tile – check the adhesive packaging)
- Tile spacers
- Tile cutter or wet saw (natural stone almost always calls for a wet saw)
- Rubber grout float
- Bucket and sponge
- Utility knife
- Safety glasses and gloves
Materials and Tile Prep:
- Tile of your choice
- Thin-set mortar or a premixed tile adhesive (mastic)
- Grout – sanded for joints wider than ⅛ inch, unsanded for anything tighter
- 100% Silicone Caulk (matching your grout color)
- Grout sealer
- Electrical box extenders
- Painter’s tape and drop cloths
If your walls aren’t perfectly flat or you’re tiling over bare drywall in a heavy-splash zone, a cement backer board adds a layer of moisture protection worth the extra step. It’s not always necessary, but it’s cheap insurance.
Step 1: Protect the Kitchen and Kill the Power
Before anything touches the wall, cover your countertops with drop cloths and tape off the edges of your cabinets. This part feels tedious, but thin-set mortar is a nightmare to scrape off granite once it’s dried — especially if you plan to make oak kitchen cabinets look modern with a fresh coat of paint.
If your backsplash area includes outlets or switches, turn off the breaker that controls them at the main electrical panel. Remove the cover plates with a screwdriver. Since adding tile increases wall thickness, install electrical box extenders so your outlets will sit flush with the new tile surface once reinstalled.
Step 2: Prep and Clean the Wall
Your tile is only as good as the surface underneath it. Wipe down the wall with a degreasing spray to strip away cooking residue, then let it dry completely. If you already know how to clean wood kitchen cabinets without damage, you know that keeping surrounding surfaces clean from grease is crucial before applying any new adhesive or finish.
Step 3: Find Your Layout Before You Commit to Adhesive
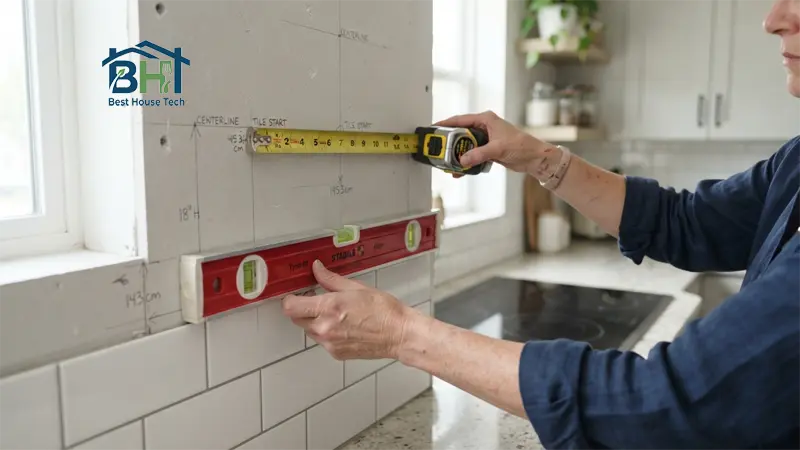
This is the step people rush, and it’s the one that determines whether your finished backsplash looks intentional or lopsided.
Measure your wall and find the center point – usually the space above your stove or the midpoint between two cabinets. Mark a vertical line with a level, then dry-fit a row of tiles along it without any adhesive. This tells you where your cuts will land on each end. If you’d end up with a sliver of tile an inch wide against the cabinet, shift your starting point slightly so the cut pieces on both sides come out even instead.
It takes twenty extra minutes, but it saves you from staring at a mismatched edge for the next ten years.
Step 4: Mix and Apply the Adhesive
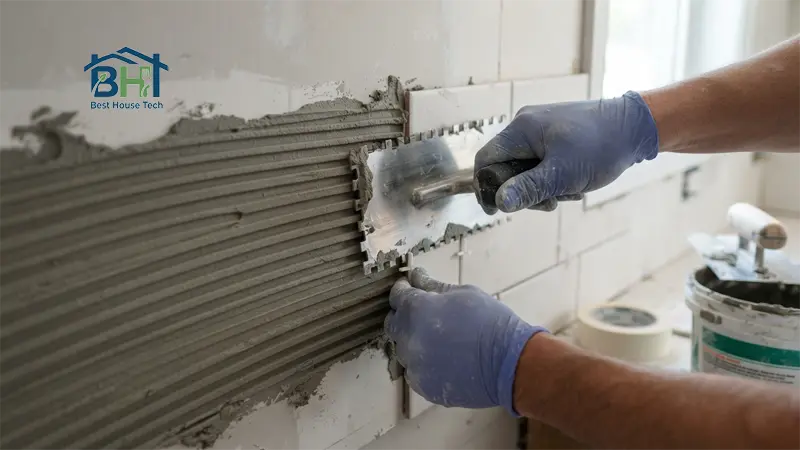
Once you’re happy with the layout, mix your thin-set mortar to a peanut-butter consistency if it isn’t premixed, and spread it onto the wall with the flat side of your trowel. Then comb it into ridges using the notched edge — those ridges are what let the tile seat evenly and adhere fully. If you want a visual step-by-step overview of the tiling process, you can follow this wikiHow guide on how to tile a backsplash.
Work in small sections (roughly 2 to 3 feet at a time). Adhesive starts to skin over faster than you’d expect, and pressing tile into a dry crust instead of wet mortar will cause tiles to fall off over time.
Step 5: Set the Tile and Make Cuts
Starting from your marked center line, press each tile into the adhesive with a slight twisting motion to seat it fully, then insert spacers at the corners to keep your grout lines even. Check your level every few tiles – small drifts compound fast over a long run.
For outlets, switches, and cabinet edges, measure twice and mark the tile clearly before cutting. A snap cutter handles straight lines on ceramic; glass and natural stone generally need a wet saw for a clean edge. Always wear safety glasses and a dust mask when cutting tile.
Step 6: Let It Cure, Then Grout
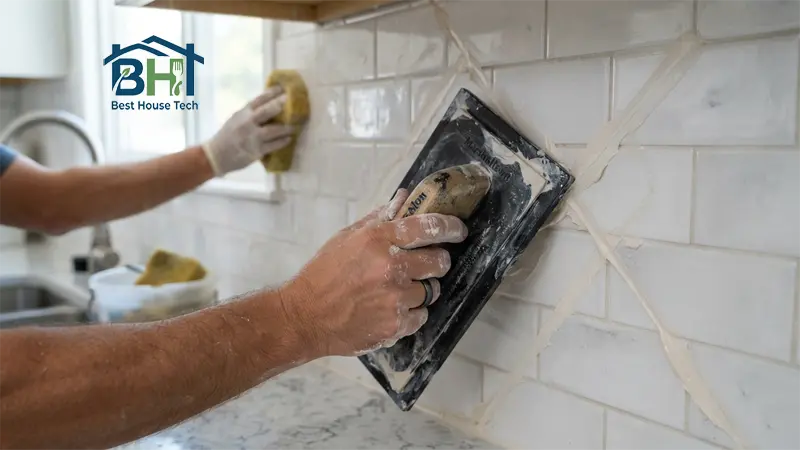
Give the adhesive a full 24 hours to set before you grout – rushing this step risks shifting tiles you just spent hours placing. Once cured, remove the spacers and mix your grout to the consistency of thick oatmeal.
Apply it with a rubber float held at a 45-degree angle, working diagonally across the joints so you don’t drag grout out of the lines. After 15-20 minutes, when the grout feels firm, wipe the surface with a damp sponge in circular motions to clear the haze. Rinse your sponge frequently.
Step 7: Caulk the Perimeter and Seal the Grout
Do not use grout along the bottom edge where the backsplash meets the countertop. This joint experiences house settling and expansion, which will crack standard grout. Instead, apply a bead of 100% silicone caulk along the countertop line and around cabinet edges.
Once the grout has fully cured (typically 48 to 72 hours), apply a grout sealer along every joint to protect against grease and water stains. Finally, install your electrical box extenders, put your cover plates back on, and remove the painter’s tape.
A Few Things That Trip People Up
- Skipping the dry layout: The most common reason DIY backsplashes look crooked.
- Using grout at the countertop joint: Always use caulk at expansion points to avoid cracking.
- Using the wrong grout type: Sanded grout in a tight joint (under ⅛ inch) can scratch softer tile like glass or polished marble.
- Not respecting cure times: Mortar and grout need time to cure chemically. Don’t use fans or heat guns to speed it up.
Quick Recap
- Prep and protect the space, cut power, and plan for electrical box extenders.
- Dry-fit your layout before applying any adhesive.
- Work in small sections so the adhesive stays wet and workable.
- Grout the joints, but caulk the countertop and cabinet seams.
- Let mortar and grout cure fully before sealing.
Installing a backsplash isn’t complicated, but it rewards patience over speed. Take the layout step seriously, respect the cure times, and you’ll end up with a high-end finish that looks completely contractor-installed.