
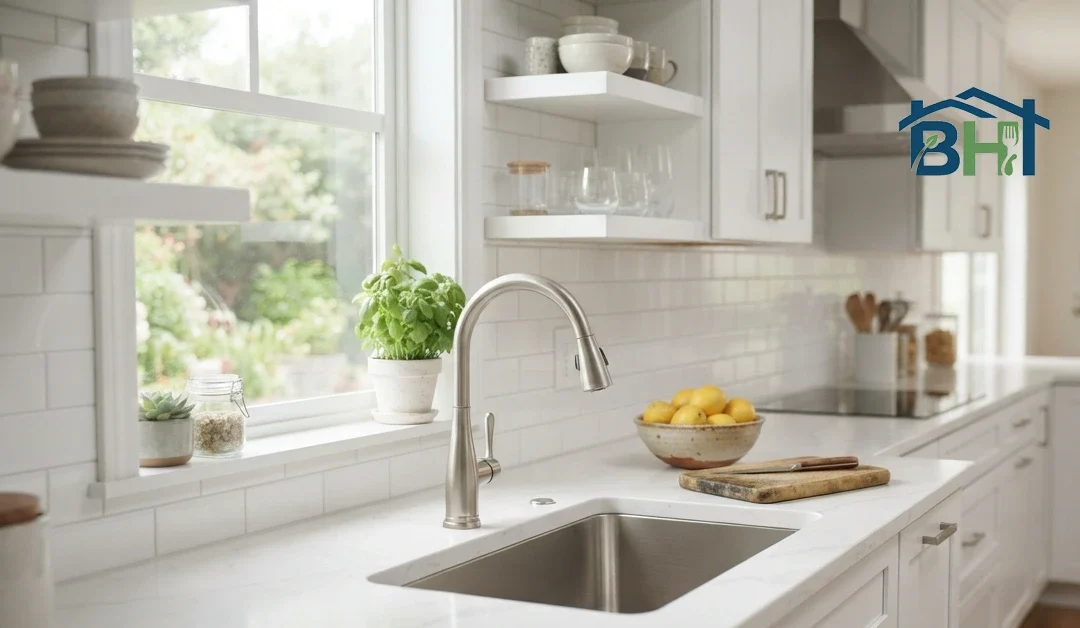
Here’s the part nobody tells you until it’s too late: with a quartz countertop, the sink decision is basically made before the countertop is. The fabricator needs your actual sink to cut the opening, and once that hole is cut, switching to a different model usually means a new cutout or a new slab.
So the sink you pick matters more than it seems. This guide walks through what makes the best undermount kitchen sinks for quartz countertops, which materials hold up, how to size one correctly, and the small details (like “reveal”) that decide whether the finished kitchen looks sharp or slightly off.
Why Undermount Sinks and Quartz Go Together
An undermount sink is attached to the underside of the countertop, so there’s no rim sitting on top. You can sweep crumbs and spills straight off the counter and into the bowl. That’s the whole appeal.
It works best with solid, non-porous surfaces like quartz, granite and solid surface. It’s a poor match for laminate, which doesn’t like moisture getting at the cut edge. Quartz is dense and uniform, so the cut edge inside the opening stays clean and polished, and it can be cut to tight tolerances.
There’s one catch. Because the sink hangs from the stone, the bond between the two has to be strong. We’ll get to how that works shortly.
Start With the Material
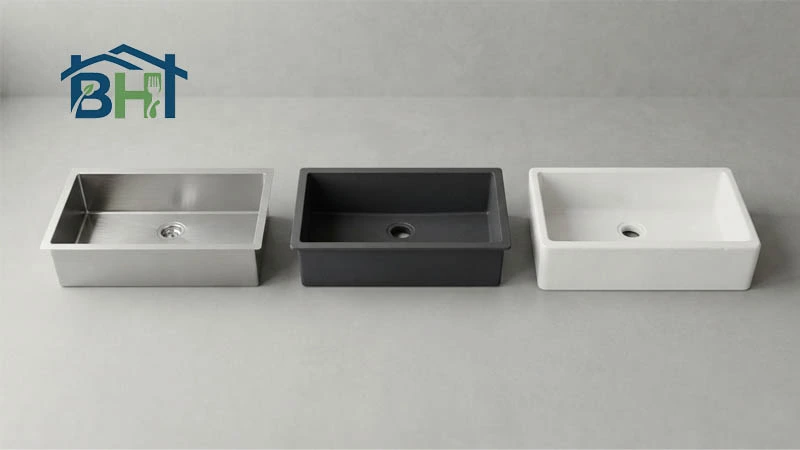
Most undermount sinks for quartz fall into three camps. Each one has a different personality.
Stainless steel is the default for a reason. It’s tough, easy to clean, and comes in the widest range of sizes and prices. The catch is that quality varies a lot, so you need to know what to look for (more on that in a moment).
Granite composite sinks are made from crushed stone bound with resin. They’re hard, scratch-resistant and have a matte, solid-color look that pairs nicely with quartz. They’re also heavy, which matters for support.
Fireclay is ceramic fired at high heat, with a glossy, glassy finish. It’s beautiful and durable, though it’s generally heavy too, and you’ll want a sturdy cabinet underneath.
| Material | Strengths | Watch Out For |
|---|---|---|
| Stainless steel | Durable, low maintenance, wide price range | Thin gauges dent and sound noisy |
| Granite composite | Scratch- and impact-resistant, matte look | Heavy; needs solid mounting |
| Fireclay | Glossy, classic look | Heavy; check cabinet strength |
Copper and cast iron are out there too, but for a typical quartz kitchen, these three cover nearly everything.
Stainless Steel: Gauge, Grade and Noise
If you go stainless, two numbers on the spec sheet do most of the work.
Gauge is thickness, and the scale runs backward. A lower number means thicker steel. A 16-gauge sink is about 1/16 inch thick, while 18-gauge is around 0.05 inch. Thicker steel resists dents and feels sturdier. It also tends to be quieter. Most guides treat 16 and 18 gauge as the sweet spot, and 20 or 22 gauge as budget territory that dents more easily.
Grade tells you what the steel is made of. Look for type 304, which is the common choice for kitchen sinks and is usually described as 18/8 (18% chromium, 8% nickel). You’ll sometimes see it marketed as 18/10. That chromium and nickel mix is what keeps the sink from rusting and staining.
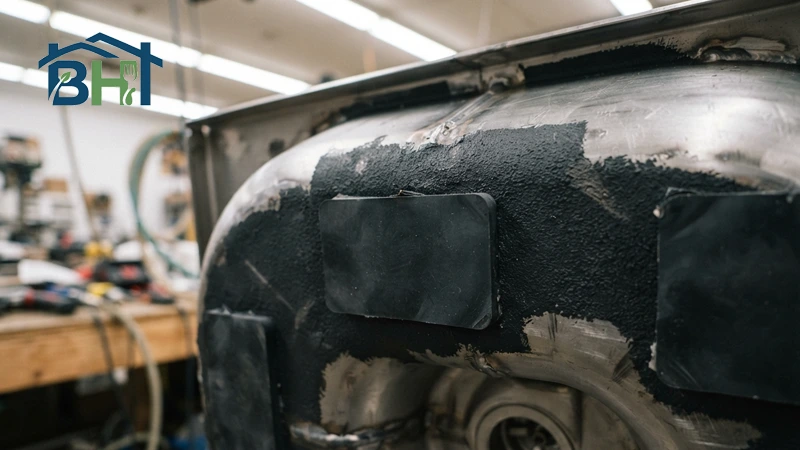
Then there’s noise. A bare steel basin rings when water hits it. Better sinks have a thick undercoating and rubber sound pads stuck to the outside of the bowl, which cut the clatter and also reduce condensation on the cabinet floor. If the cabinet under your sink does get damp or splashed, here’s how to clean wood kitchen cabinets without damaging the finish.
One honest warning: some budget listings say “16 gauge” when the steel is closer to 18. Check that the manufacturer states the actual gauge and the 304 grade, not just the headline number.
Size It to Your Cabinet, Not Your Wishlist
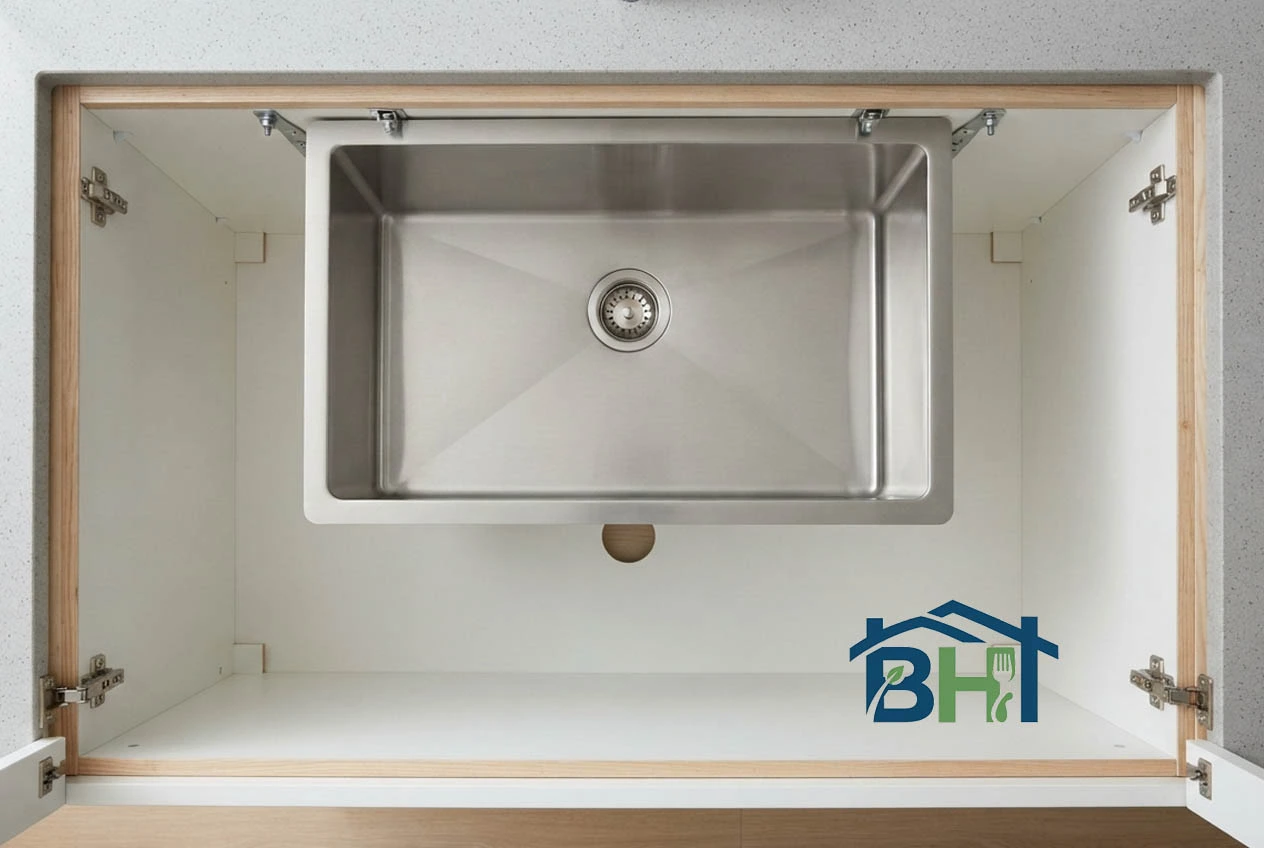
The classic rule is simple: subtract 3 inches from your base cabinet width. A 36-inch sink base typically fits a sink up to about 33 inches wide. A 30-inch sink needs at least a 33-inch cabinet.
The reason is that the cabinet’s side walls take up space, and the mounting hardware needs somewhere to go. A 33-inch sink in a 33-inch cabinet usually doesn’t work, since there’s no room left on the sides for clips.
Every sink also lists a minimum cabinet size on its spec sheet. Check that number before you fall in love with a model.
Depth matters too. Many stainless sinks are around 9 inches deep, and some run 10 inches or more. A deeper bowl handles stockpots and sheet pans better, but it takes space from your under-sink storage and can crowd a garbage disposal. Think about what you actually wash.
Single Bowl, Double Bowl or Workstation?
A big single bowl is easier to scrub and fits large pans without a fight. A double bowl gives you one side for washing and one for rinsing, though neither side is quite as roomy. A workstation sink adds a ledge along the rim so cutting boards, colanders and drying racks can slide across the sink.
There’s no wrong answer here. If you rarely hand-wash large pots, a double bowl may suit you. If you do, go single. Just keep your cabinet width in mind, because a wide workstation sink often needs a 36-inch cabinet or larger.
The Reveal: The Detail That Changes the Look
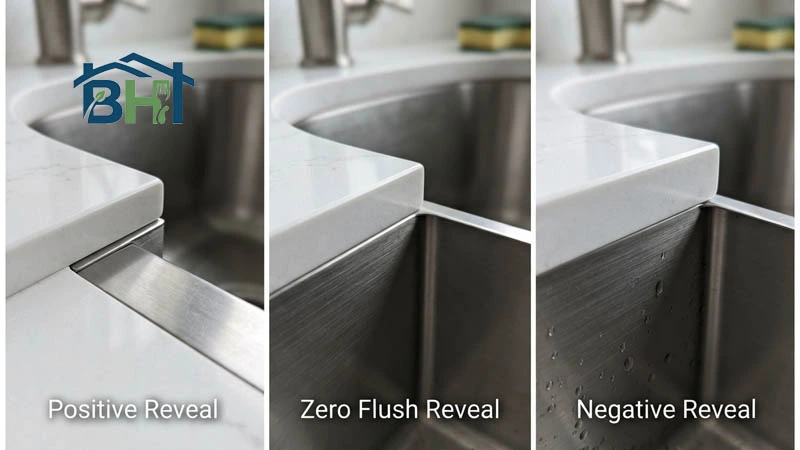
Reveal describes how the sink’s edge sits relative to the stone opening. It sounds minor. You’ll look at it every day.
- Positive reveal: the stone is cut slightly back, so a thin strip of the sink rim shows. A typical reveal is around 1/8 inch.
- Zero reveal: the stone edge lines up flush with the sink wall. It’s clean and modern.
- Negative reveal: the stone overhangs the sink opening slightly. It hides the rim but can collect grime underneath.
Many fabricators like zero reveal for its easy cleaning, and quartz handles that tight cut well. Others prefer a slight positive reveal, which is more forgiving if the sink and the cutout are off by a hair. Either is a reasonable call. Talk it through with your fabricator before the cut, because the reveal is set at that moment and can’t be changed later.
Also ask whether the undermount cutout and edge polish are priced separately. Some shops charge roughly $100 to $200 or more for it, depending on how tight the tolerance is.
How the Sink Actually Stays Up
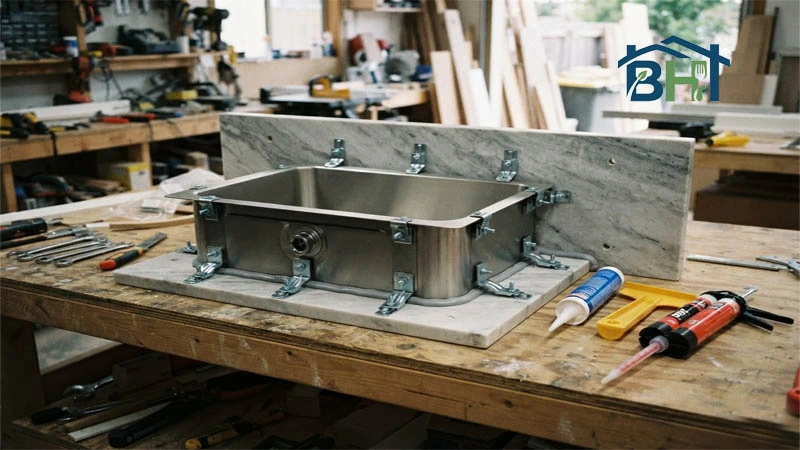
This is the part worth understanding, because it’s the difference between a sink that lasts and one that sags.
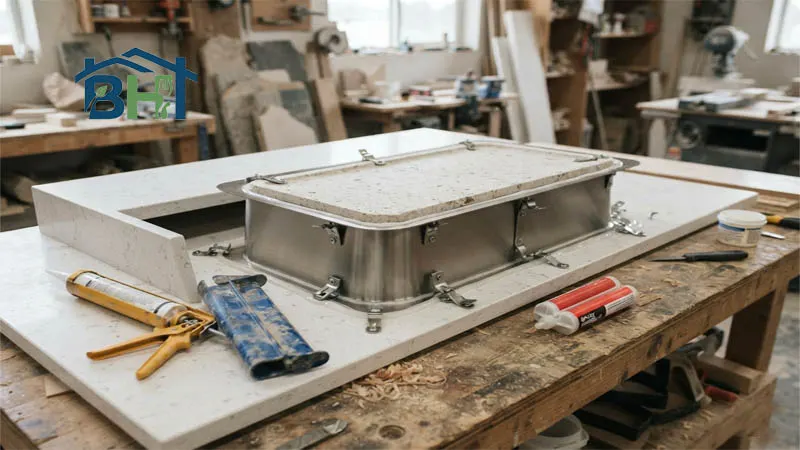
A properly installed undermount sink is held by two things working together: a strong adhesive bond, and mechanical support from clips or brackets. For quartz, the adhesive is usually a stone-grade two-part epoxy, with 100% silicone sealing the rim against water. The clips take the weight and keep the bond from carrying the whole load.
Silicone alone isn’t a good plan. A sink full of water and dishes is heavy, and a sink that lets go can damage the counter and everything under it.
A few practical points:
- Sink before cutout. The fabricator should have your actual sink in hand before cutting. Templates from the sink manufacturer exist, but the physical sink is the safest reference.
- Install before the counter goes on the cabinets. It’s far easier to attach the sink to the stone while the slab is upside down on a work surface. Most pros do it this way.
- Let it cure. Epoxy needs time, often around 24 hours, before the counter is moved or the sink is loaded.
- Pick your faucet early. On an undermount, faucet holes are drilled in the quartz, not the sink, so the faucet choice has to be settled before fabrication. And if you ever need to change a kitchen faucet later, it helps to know the hole spacing your countertop was cut for.
Some manufacturers, Karran among them, state outright that undermount sinks should be installed by an experienced professional. That’s good advice. It’s one of those jobs where a mistake can’t be undone. Follow the instructions that come with your specific sink and the fabricator’s guidance.
Protect the Quartz Around the Sink
Quartz is roughly 90% ground stone held together with resin, and the resin is the weak point. Manufacturers like Caesarstone and Cambria say very hot pots and pans can cause discoloration or damage, with many pointing to about 150°F as the point where resin can start to suffer. That’s why every brand tells you to use a trivet.
The sink area is where this gets practical. You’ll set hot pans down near the sink constantly, for draining pasta or soaking a baking sheet. Keep a trivet or heat pad within reach, and don’t set a pan fresh off the burner on the edge of the cutout. Some installers also suggest running cold water while pouring boiling water down the drain, since a hot metal sink warms the stone edge around it. That’s a sensible habit rather than an official rule, but it costs you nothing.
Skip abrasive scrubbers and harsh cleaners around the polished edge too. Mild soap and a soft cloth do the job.
Where Product Picks Go
1: Best overall 16-gauge stainless steel undermount sink: add product name, size, minimum cabinet size, Amazon link, and verified price/specs]
2: Best budget 18-gauge stainless steel undermount sink: add product name, size, Amazon link, and verified specs]
3: Best granite composite undermount sink: add product name, color, size, Amazon link, and verified specs]
4: Best workstation or deep single bowl undermount sink: add product name, size, Amazon link, and verified specs]
5: Undermount sink clips and stone epoxy kit (for installers/fabricators): add product name, Amazon link, and verified specs]
A Quick Checklist Before You Order
- Measure your base cabinet width and subtract 3 inches. Confirm the sink’s minimum cabinet size.
- For stainless, check that the sink states real 16- or 18-gauge steel and type 304.
- Look for an undercoating and sound pads.
- Choose single, double or workstation based on how you actually wash dishes.
- Decide on a reveal with your fabricator, and ask about the cutout price.
- Pick your faucet before fabrication.
- Have the sink on site before the cutout is made.
- Confirm that both clips and epoxy are part of the install plan.
- Keep a trivet by the sink for hot pots.
Quartz and an undermount sink make a clean, long-lasting pairing, but only when the sink is chosen first and installed properly. Once the sink and countertop are in, the backsplash is the natural next project, and you can install a kitchen backsplash yourself without much trouble. Get those two things right and the rest is just washing dishes.
SUGGESTED RELATED KEYWORDS
- undermount sink for quartz countertop
- best stainless steel undermount sink 16 gauge
- granite composite undermount kitchen sink
- undermount sink positive vs zero reveal
- what size sink fits a 36-inch cabinet